

Can You Put Wall Decals in a Bathroom or Kitchen?
31st Mar 2026
The Short Answer: Yes, Vinyl Wall Decals Work Fine in Both
Vinyl wall decals hold up well in bathrooms and kitchens. The vinyl material itself is water-resistant — it's the same type of material used for outdoor signage, vehicle wraps, and boat lettering that routinely withstands rain, humidity, and temperature changes. Normal household conditions in a bathroom or kitchen are well within what vinyl is designed to handle.
But the question behind the question is usually about adhesion — will the decal stay stuck when there's steam from the shower or heat from the stove? That depends less on the decal and more on how you apply it. This guide covers everything you need to know to get wall decals to last in humid and warm rooms.
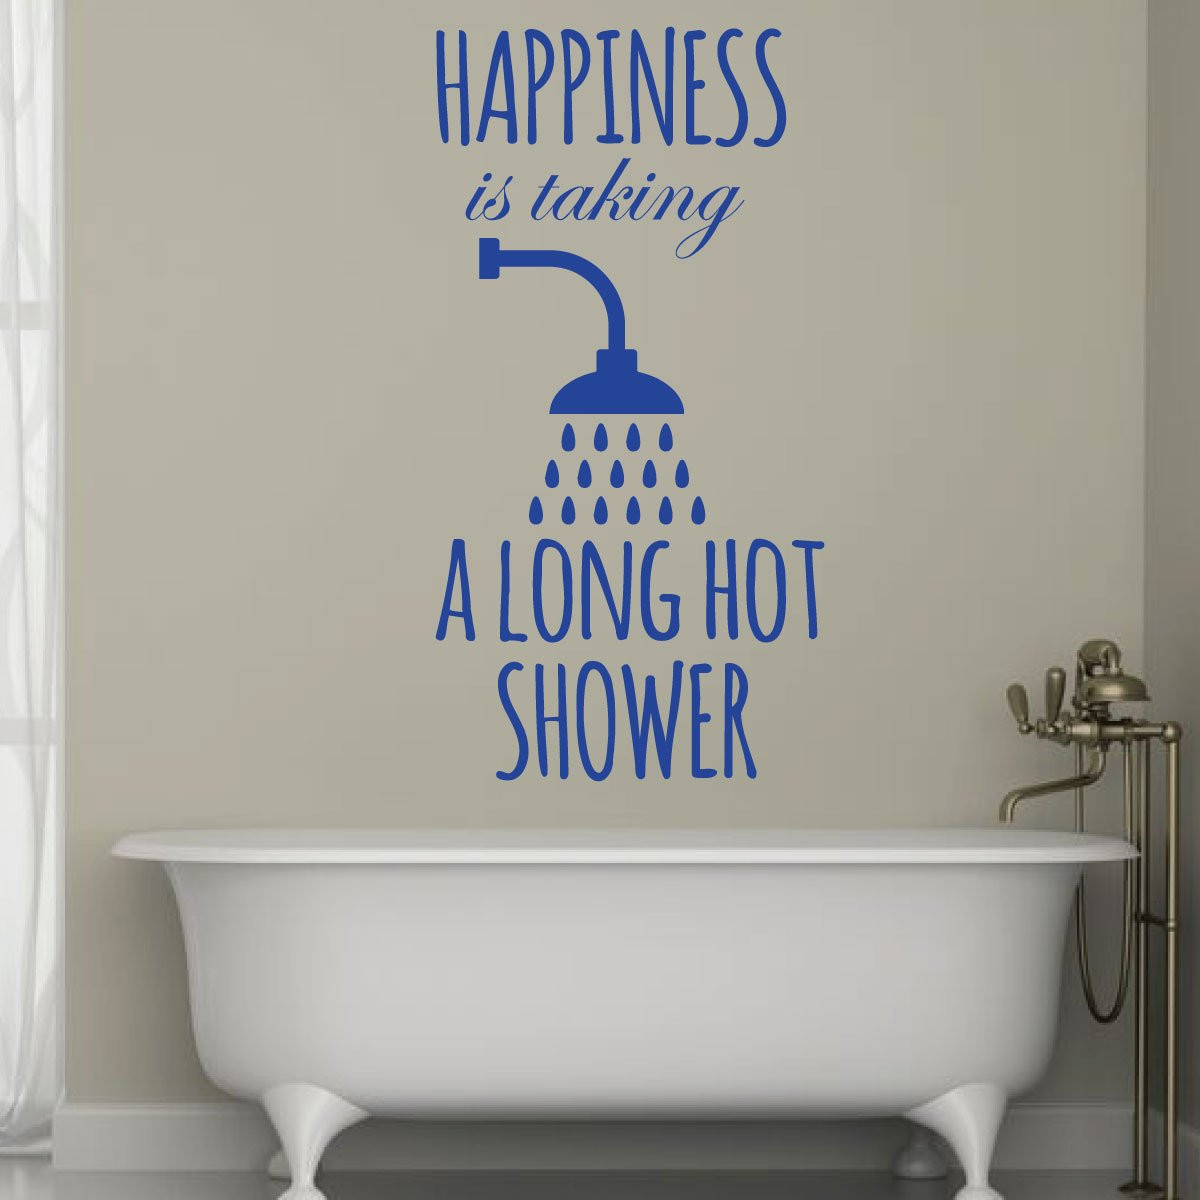
Wall Decals in the Bathroom: Humidity Is Not the Enemy
Bathrooms get steamy. That's the main concern people have, and it's a reasonable one. But here's the thing: humidity in the air is very different from water running down the wall. Vinyl decals are not affected by humid air. They don't absorb moisture, warp, or degrade from normal bathroom steam.
We've had customers keep bathroom wall decals up for 5+ years without any issues. The decals didn't peel, curl, or discolor. The key is proper application and placement.
Where Bathroom Decals Thrive
- Above the toilet — the most popular spot and typically the driest wall in the bathroom
- Above the bathtub (on the wall, not inside the tub surround) — works great as long as you're not placing it where water splashes directly
- Near the mirror or above the vanity — dry zone, perfect for quotes and affirmations
- On the bathroom door — zero humidity concern
Where to Avoid
- Inside a shower stall or tub surround — constant direct water contact is different from humidity. Wall decals are not designed for surfaces that get soaked daily.
- Directly above a shower head with no ventilation — if your bathroom has no fan and no window, and the steam collects as condensation dripping down the wall, that specific wall gets too wet. Fix the ventilation, then decorate.
Bathroom Application Tips
- Apply on a dry day. Don't put up a decal right after someone took a shower. Wait until the walls are completely dry.
- Clean the wall first with rubbing alcohol. Bathrooms accumulate soap residue, hairspray, and cleaning product films that you can't see. These invisible layers prevent adhesive from bonding properly. A quick wipe with rubbing alcohol on a microfiber cloth removes them.
- Press firmly with a squeegee or credit card. Work from the center outward to push out air bubbles. A firm initial bond is what keeps the decal stuck for years.
- Run the bathroom fan after showers. This is good practice regardless of decals — it prevents mold, paint damage, and moisture buildup. A well-ventilated bathroom is ideal for wall decals.
Wall Decals in the Kitchen: Heat and Grease Are the Real Questions
Kitchens present a slightly different challenge than bathrooms. The concerns aren't just humidity (from boiling water and dishwashers) but also heat near the stove and grease splatter.

Heat: How Close Is Too Close?
Standard vinyl wall decals are rated for temperatures up to about 150°F (65°C). The wall above your stove doesn't typically reach anywhere near that temperature unless your range has no ventilation hood. Here's a practical guide:
- 18+ inches above a stove/cooktop: Perfectly safe for wall decals. This is where range hoods typically start, and the wall at this height stays at room temperature during normal cooking.
- 12-18 inches above a stove: Usually fine, but can get warm during extended cooking. If you can hold your hand on the wall comfortably, a decal will be fine there too.
- Directly behind or beside the burners (backsplash zone): Not recommended for vinyl decals. This area gets grease splatter, direct heat, and needs to be wiped down frequently. Use tile or a proper backsplash material here.
Grease: Keep It Away from the Cooking Zone
Grease splatter is a bigger concern than heat for kitchen wall decals. Vinyl can be wiped clean with a damp cloth, but grease that lands on a decal repeatedly can discolor it over time and weaken the adhesive around the edges.
Best practice: Place kitchen decals on walls that are at least 3-4 feet from the cooking surface. The wall above a dining nook, the wall opposite the stove, above the coffee station, or near the pantry are all excellent choices. These spots get the room's ambient humidity and temperature without the cooking zone hazards.
Kitchen Application Tips
- Degrease the wall first. Kitchen walls accumulate a thin film of cooking grease over time, even several feet from the stove. Wipe the application area with a grease-cutting cleaner (dish soap works) followed by rubbing alcohol, and let it dry completely.
- Avoid the backsplash zone. The area directly behind the stove and between the countertop and upper cabinets is for tile, not decals. Place your decal in a dryer, cooler spot.
- Choose a spot away from the sink splash zone. Above the sink is fine; on the wall directly adjacent where water splashes is not ideal.
What About the Laundry Room?
Since we're covering humid rooms, laundry rooms deserve a mention. The humidity from a washing machine and dryer is very manageable for vinyl decals — less than a bathroom, actually. The main thing is to make sure your dryer vents to the outside (which it should for safety reasons). An indoor-venting dryer creates excessive moisture that's bad for walls, paint, and decals alike.
With proper ventilation, laundry room decals perform identically to decals in any other room. Check out our laundry room wall decor ideas for inspiration.

How Long Do Wall Decals Last in Humid Rooms?
When properly applied, vinyl wall decals last 5-7+ years in bathrooms, kitchens, and laundry rooms — the same lifespan as decals in a dry bedroom or living room. The vinyl doesn't degrade from humidity, and the adhesive maintains its bond on clean, smooth surfaces.
Factors that shorten decal lifespan (in any room):
- Dirty walls at application — the #1 cause of premature peeling, in any room
- Direct sunlight — UV exposure can fade colors over several years (not a humidity issue)
- Textured walls — less surface contact means weaker adhesion. Smooth to light orange peel is ideal.
- Cheap paint — if the paint itself isn't adhered well, the decal will pull it off regardless of humidity
None of these are specific to bathrooms or kitchens. The room's humidity level is rarely the reason a decal fails. More on wall surface compatibility in our wall decals and wall damage guide.
Signs a Decal Needs to Be Replaced
Even well-applied decals eventually show their age. Here's how to know when it's time for a new one:
- Edges lifting or curling — you can sometimes press them back down, but if they keep lifting, the adhesive has weakened
- Color fading — especially on south-facing walls with direct sun
- Yellowing — white vinyl can yellow over many years, especially in rooms with smokers or heavy cooking
- You're just ready for a change — that's the beauty of removable decals. Peel it off, clean the wall, and put up something new.
The Bottom Line
Vinyl wall decals are designed to handle the real-world conditions in bathrooms, kitchens, and laundry rooms. Apply them to a clean, dry, smooth wall, keep them out of direct water contact and the stove's immediate backsplash zone, and they'll last for years. The material is inherently water-resistant and heat-tolerant within normal household ranges.
Ready to find the right decal for your space? Browse our bathroom decals, kitchen decals, and laundry room decals to find quotes and designs that match your style. And if you want to learn more about wall decal durability, check out our comparison guide on wall decals vs wallpaper vs stencils.
